Disclaimer: This post may contain affiliate links. If you buy through a link, I may receive a commission.
Easy Apple Pie recipe | Breaking bread
As someone who did not grow up in the US, my first official Thanksgiving was a few years ago, when my church at the time organized a Thanksgiving dinner for college students who could not go home during the break.
The holiday season can be isolating for international students. While all my American friends left to spend time with their families, I remained on campus, 10,000 miles away from home. That evening, I was grateful. The church welcomed us as family and extended God’s love and kindness to us, international students. It was more than a simple act of kindness; it was a display of biblical principle.
When a stranger sojourns with you in your land, you shall not do him wrong. You shall treat the stranger who sojourns with you as the native among you, and you shall love him as yourself, for you were strangers in the land of Egypt: I am the Lord your God. Leviticus–19:33-34
Welcome to Breaking Bread, a series on my blog where I’m rediscovering the lost practice of Christian hospitality. From Abraham’s tent to the Last Supper, sharing meals has always been central to our faith. So, join me as I explore different ways to open my table and my life to others, through Recipes, Hosting, and Event planning.
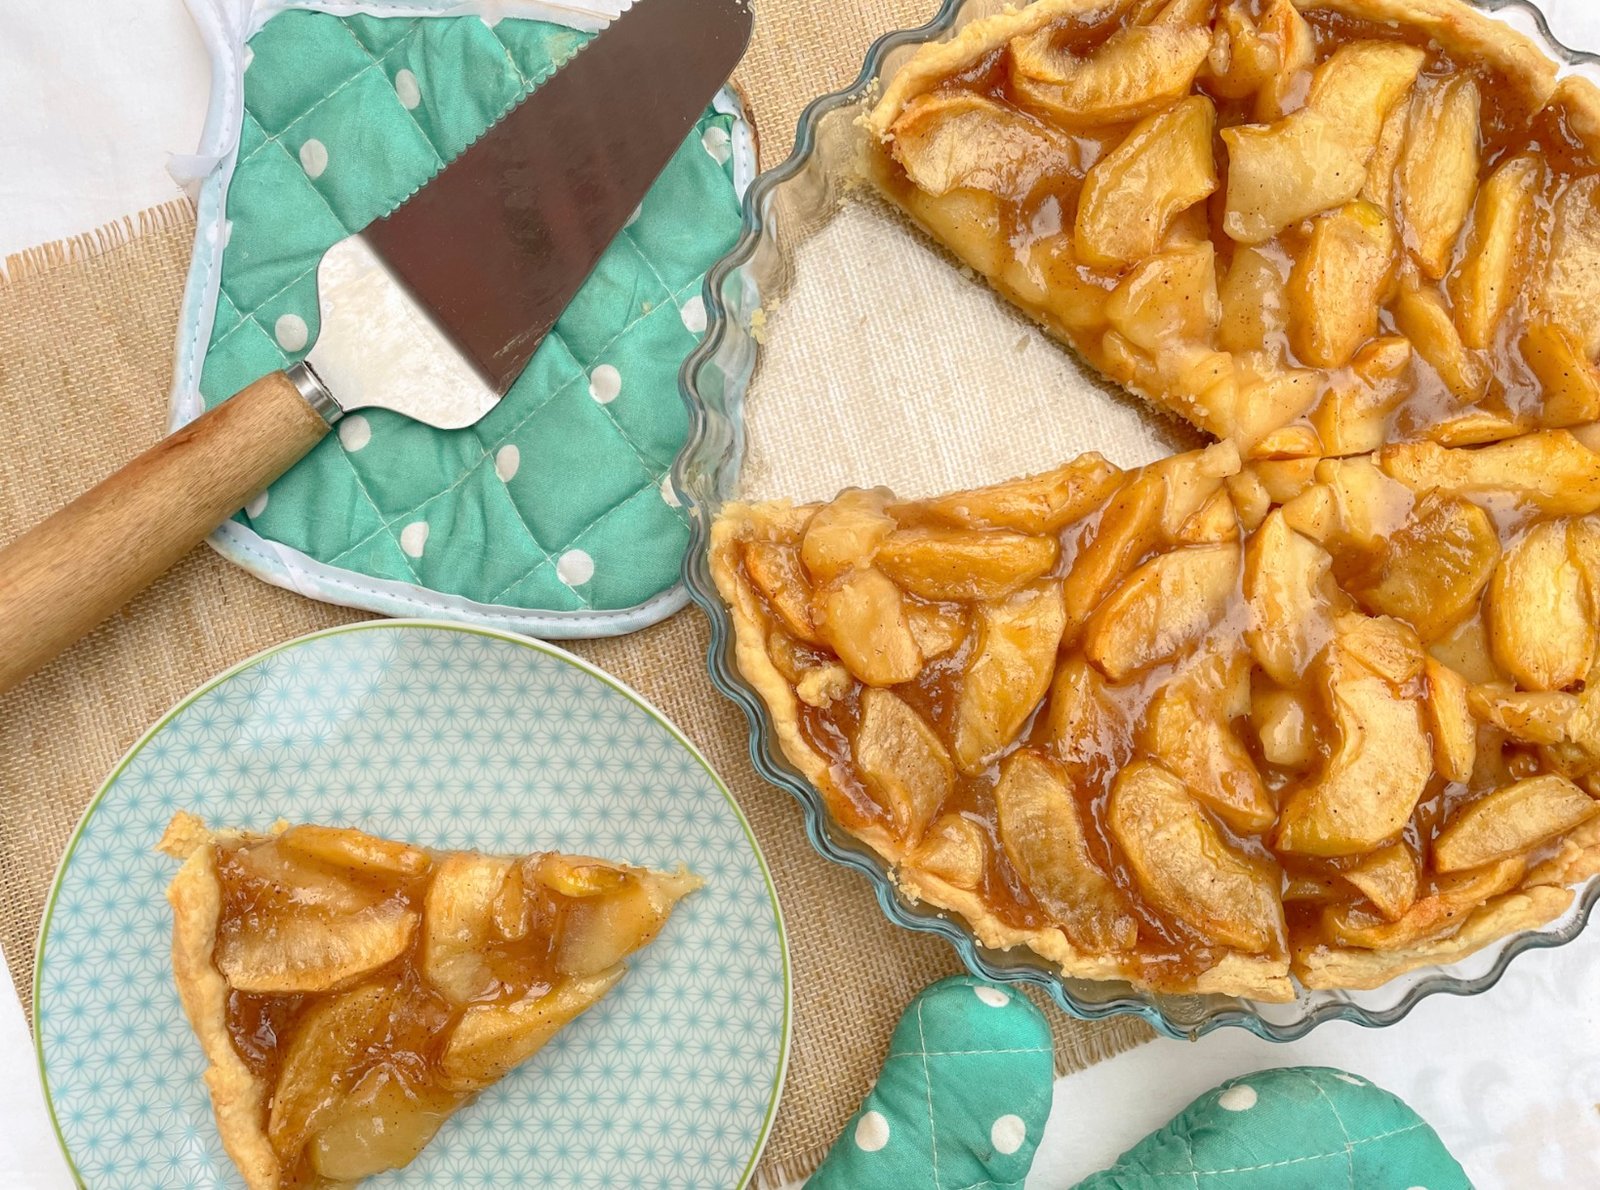
That evening also introduced me to many classic Thanksgiving meals. While the roasted turkey is the main course, let us not forget the sweet finale that completes the meal: the pie. And for the occasion, what’s more fitting for an American holiday than apple pie? A classic dessert that deserves as much love as pumpkin pie on Thanksgiving. In this post, I am sharing my go-to easy apple pie recipe for Thanksgiving.
Before you start making this pie, here are a few things you need to know to perfect the recipe and possibly tweak it to make it your own.
About the crust
In this recipe, I used a 10.25-inch quiche pan. However, if you use a traditional 9-inch pie pan, this recipe may yield two crusts.
How to prepare the dough
Keep in mind that the ingredients for the crust must be cold: cold butter cubes, coconut oil, and ice water. I even suggest letting the flour sit in the fridge for about 15 minutes before assembling all the ingredients.

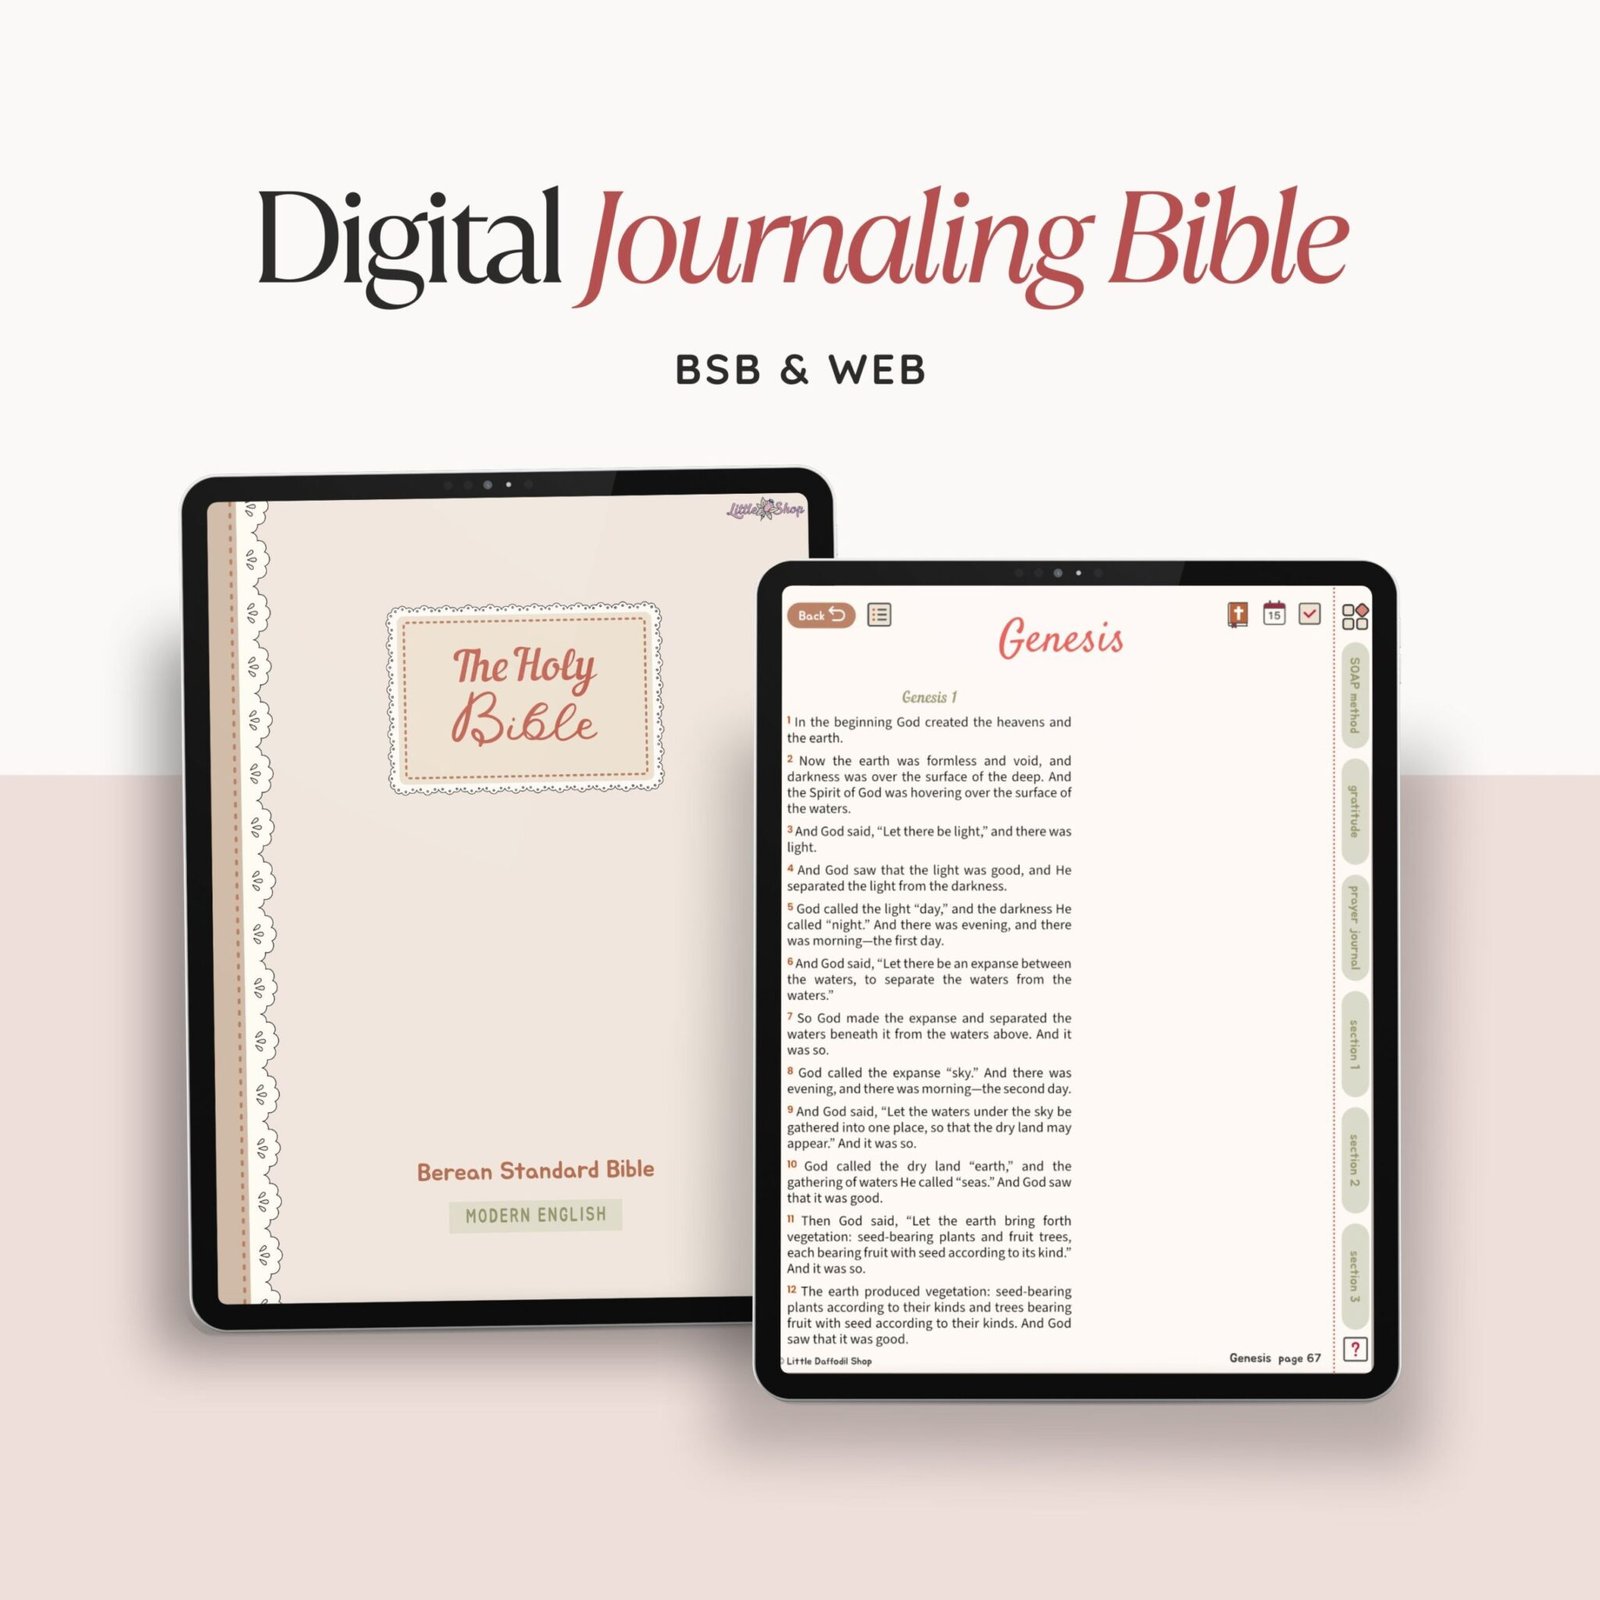
The Selah digital journaling is now available
- Perfect for note-taking and Bible journaling
- Comes with free digital Stickers
- A must-have for Christians who on an iPad or tablet
To mix the fat and the flour, I recommend using either a food processor or a mixer; however, if you don’t have one lying around, you can use a pastry cutter or even your hand like so: in a mixing bowl, coat the cold butter cubes with flour using a tossing motion, then squeeze the coated butter cubes with your fingers. Toss and repeat a few times until you get a somewhat sandy texture.
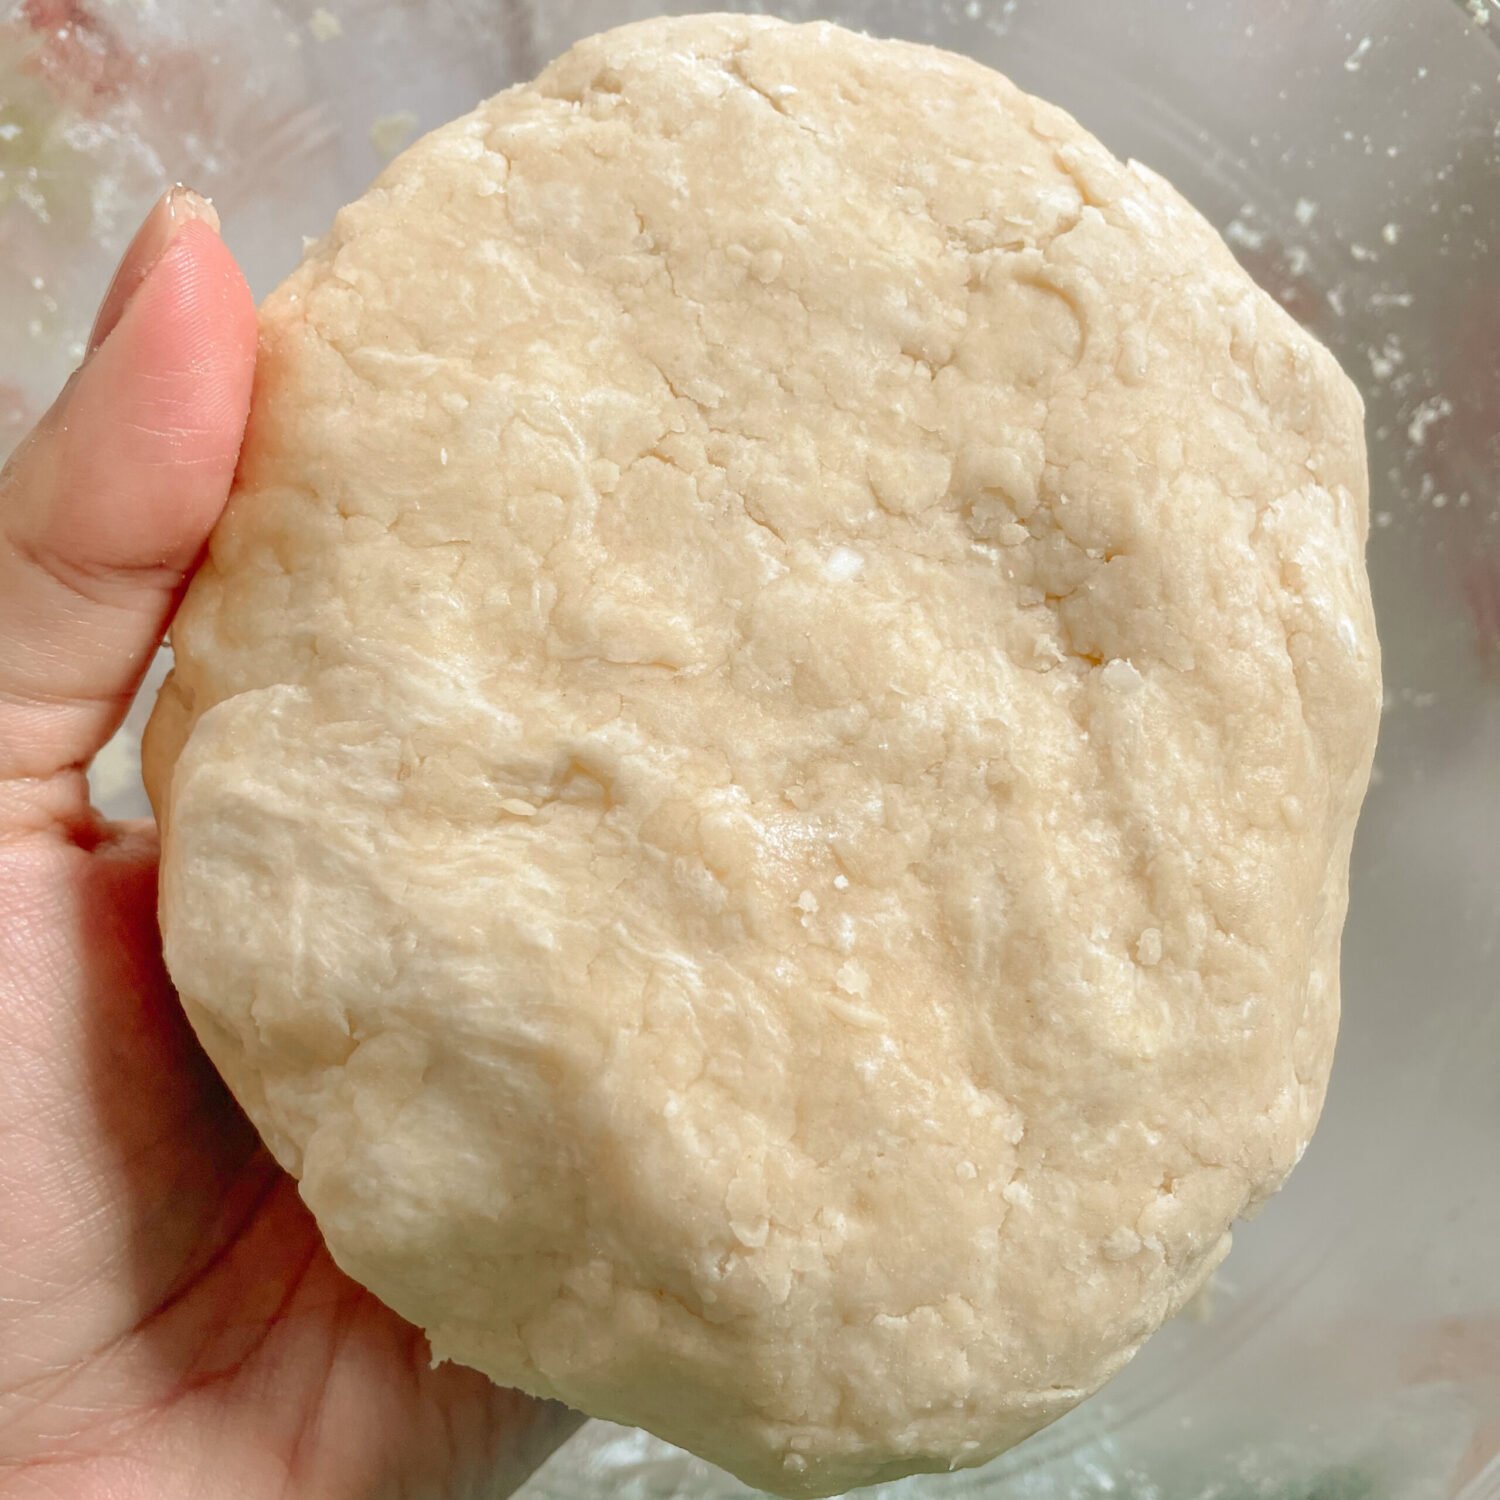
To form a dough, add water little by little. Your dough should be somewhat rough and lumpy, but not sticky. If your dough is too hydrated, add a little flour; if it is too dry, sprinkle ice water on it. For a flaky crust, avoid over-kneading your dough.
Once you have the dough, let it chill in the fridge for about 30 minutes. This is an important step, as it ensures the fat does not melt and helps with gluten formation.
Erin Jeanne McDowell, New York Times contributing baker extraordinaire and top food stylist, wrote the book on pie, a comprehensive handbook that distills all you’ll ever need to know for making perfect pies…
$18.60
Ads
How to roll out the dough
Lightly flour your work surface to ensure your dough does not dry out. Always roll in different directions to keep the shape of your crust round.
To avoid shrinkage, roll out the dough large enough to fit the pan. As a rule of thumb, I like my crust 1.5 inches bigger than my pie pan.
How to line the crust in the pan
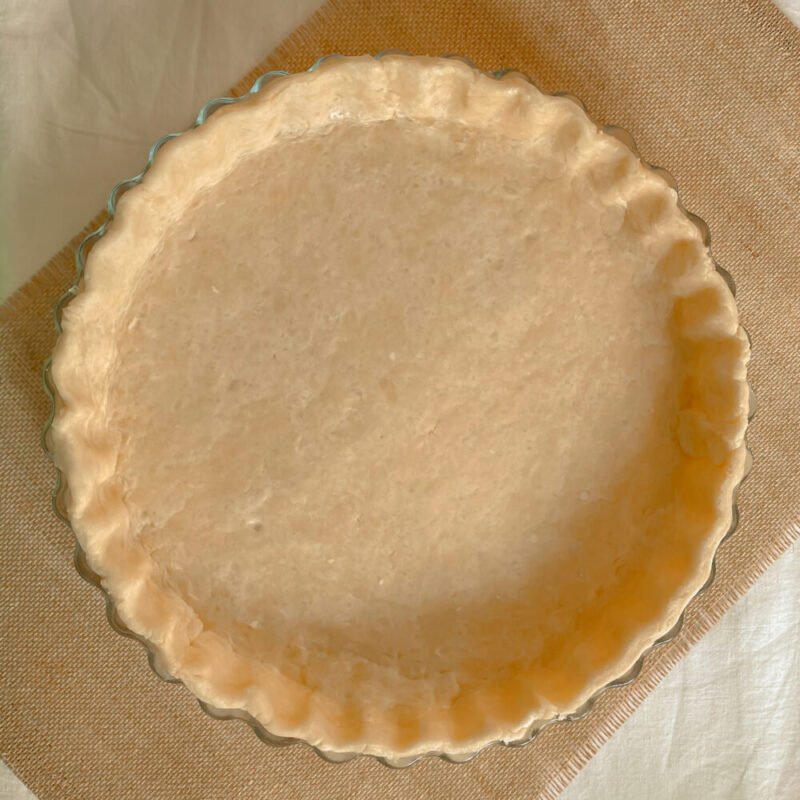
An easy trick is to roll the crust on your rolling pin and gently unroll it in your pan. Make sure to cover the corner of the plate and remove the excess crust.
About the filling
Which apple variety works best
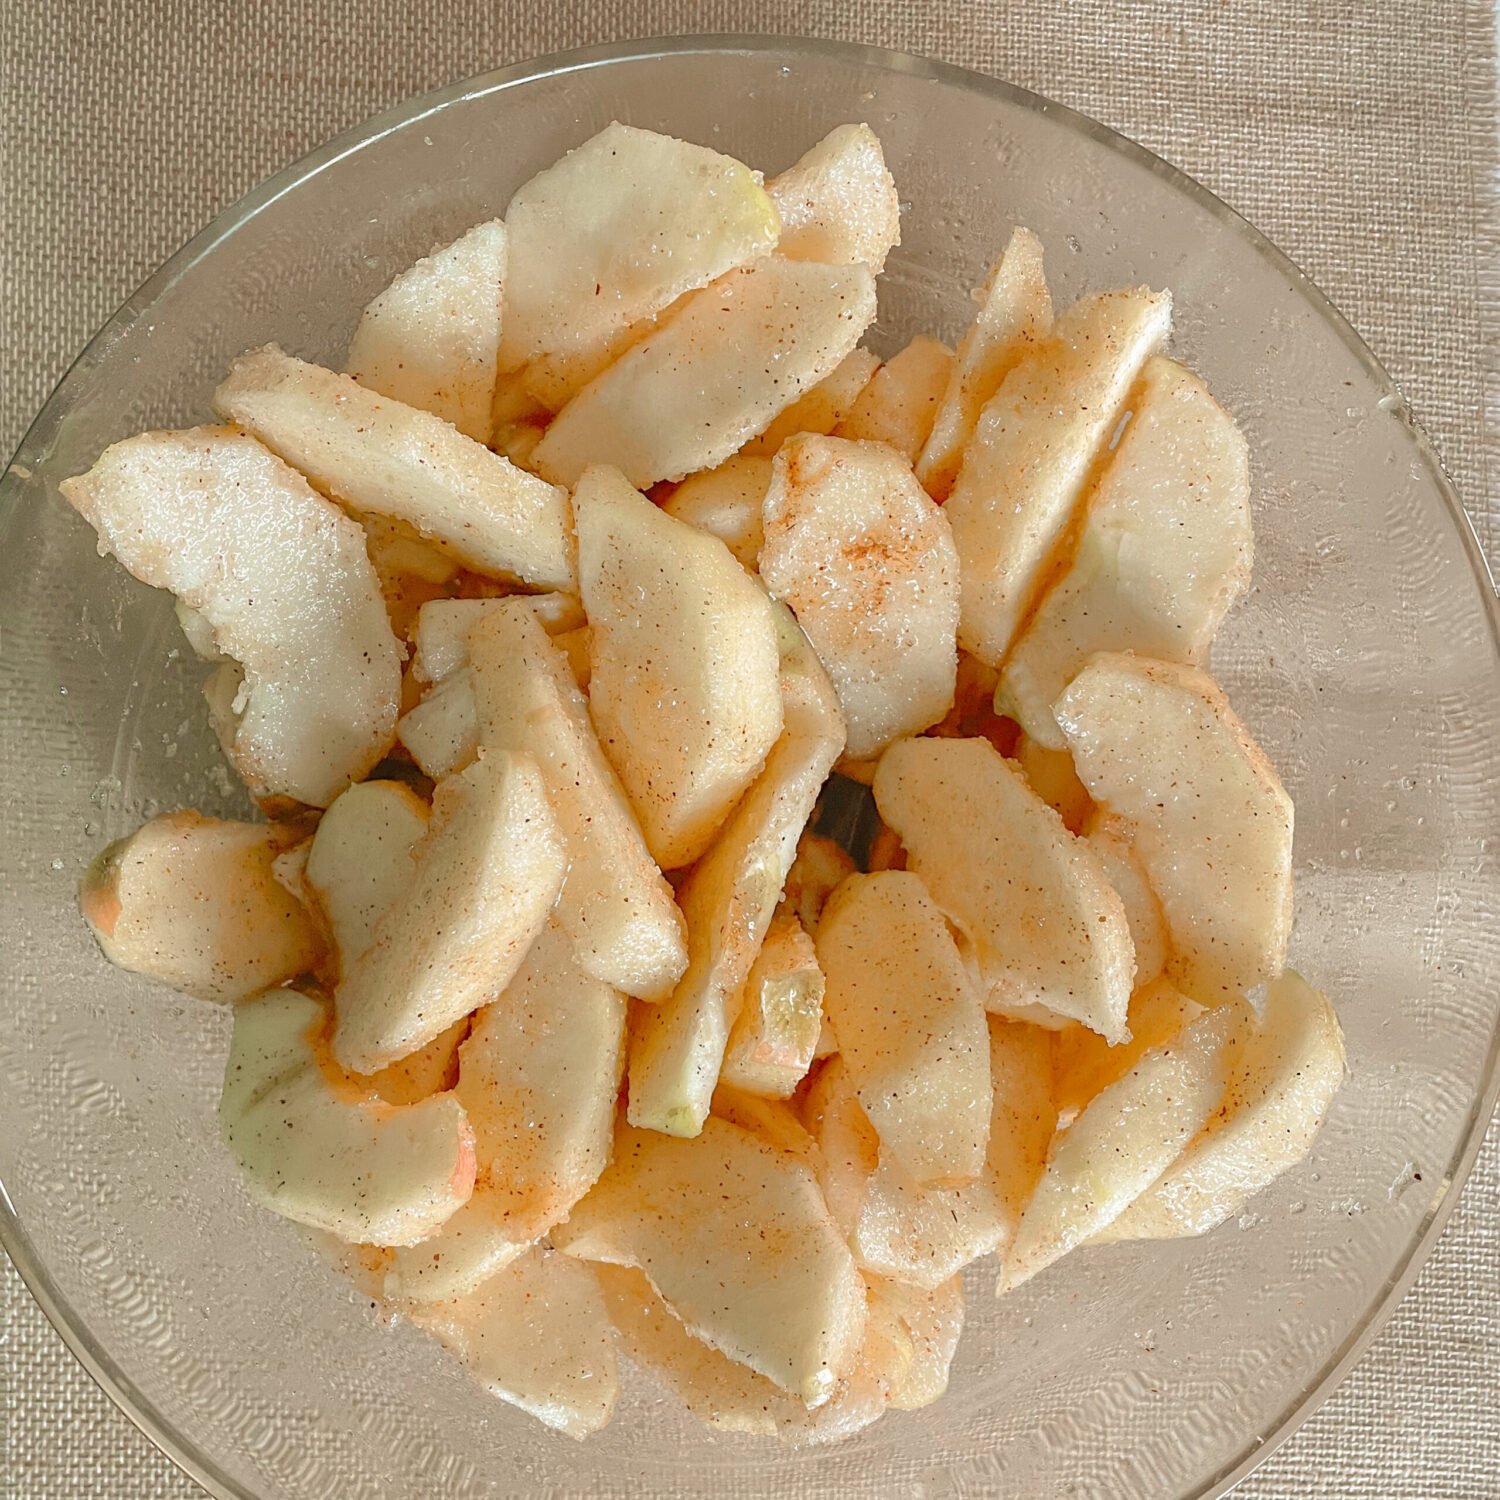
You want your apples to have a good combination of sweetness and tartness, and high juiciness. I have tested different varieties of apples for this recipe, and my favorite is probably the Pink Lady apple. That said, here is a list of apple varieties recommended for apple pie: Crispin, Granny Smith, Pink Lady, and Honeycrisp.
I have also tested Golden Delicious with this recipe, and its shape holds up pretty well since the recipe requires about 1/2 inch-thick strip of apples.
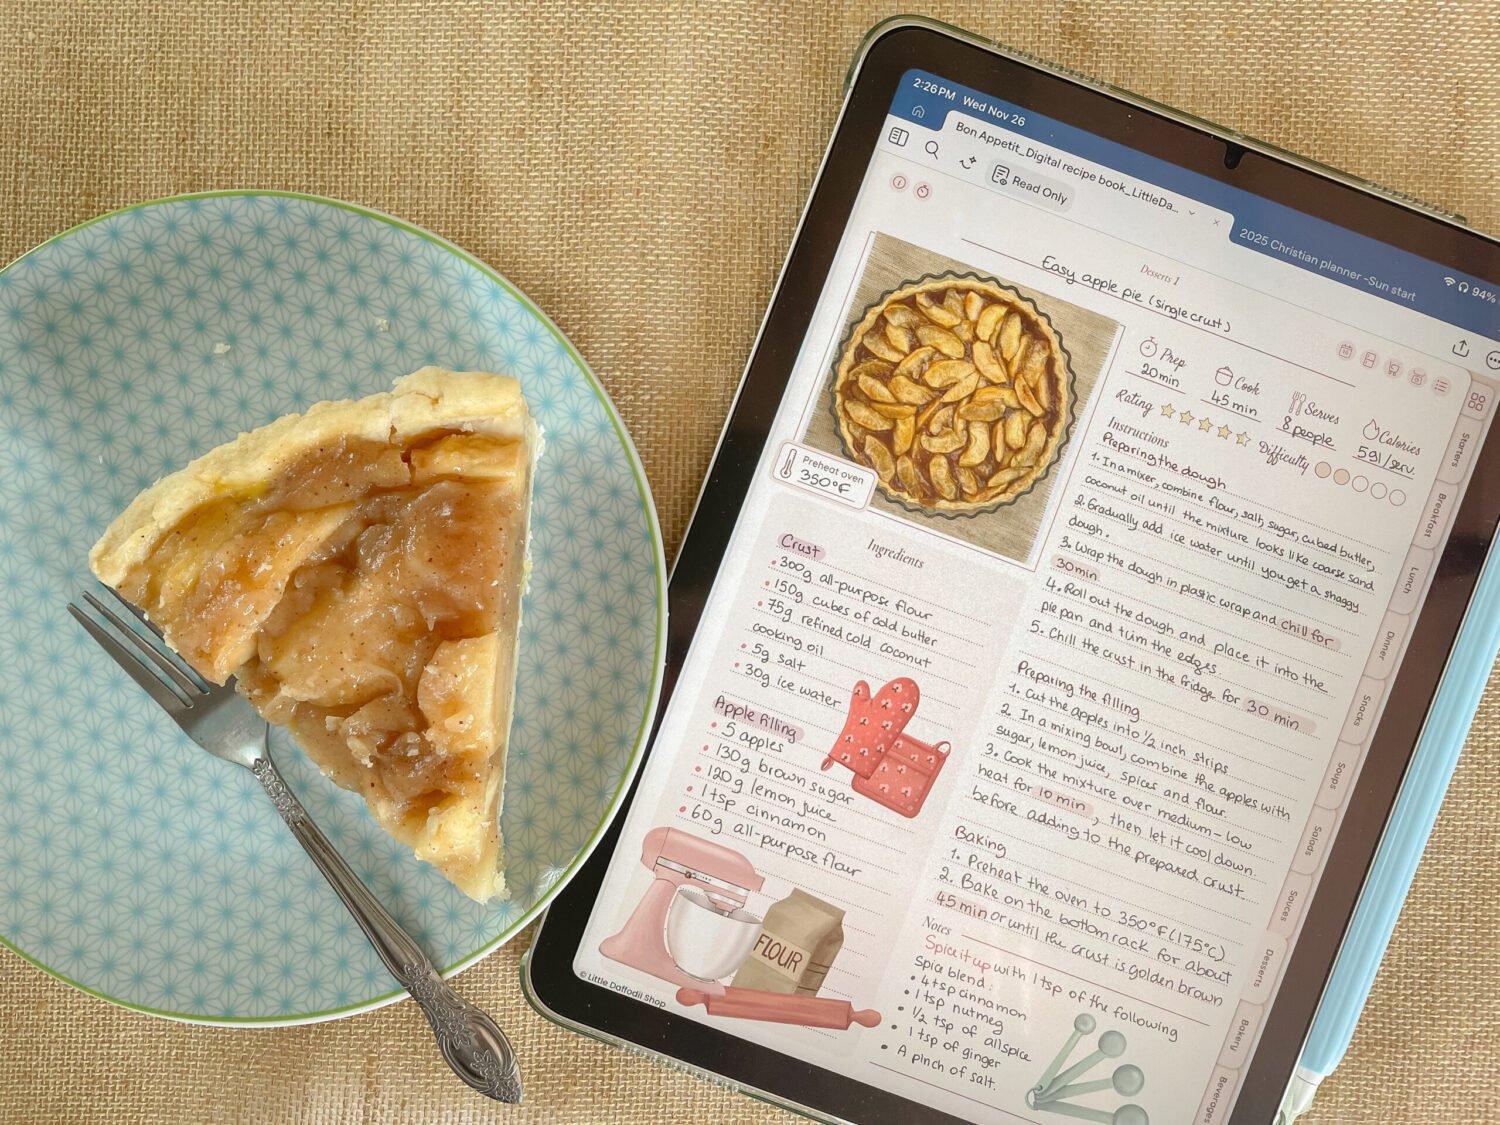
Check out my digital recipe book, Bon appétit
Pre-cooking the filling
I like pre-cooking fruit pies to ensure that the filling is not under-cooked. It also removes excess moisture, which prevents a soggy bottom crust once the pie is done.
This recipe suggest cooking the apples for about 15 minutes, but depending on the apple variety you are using, it may take less or more time. Golden Delicious for example cook faster than other varieties.
Spice blend for your apple pie?
To spice up your apple pie, use 1 to 2 tsp of the following spice blend to add a touch of je-ne-sais-quoi to your pie:
- 4 tsp cinnamon
- 1 tsp nutmeg
- 1/2 tsp of allspice
- 1 tsp of ginger
- A pinch of salt to elevate the flavor of all the spices
Note: Store the extra blend in an airtight container for future use.
Frequently Asked Questions (FAQ)
Ingredients
Method
Preparing dough
- In a mixer or food processor, combine flour, salt, sugar, cubed butter, and coconut oil until you get a coarse sand texture.
- Gradually add ice water until you get a somewhat rough and lumpy dough. Do not over-knead. Add flour or water if needed.
- Wrap the dough in plastic wrap and chill for 30 minutes in the fridge.
- Roll out the dough, place it into the pie pan, and trim the edges.
- Chill the crust in the fridge for 30 minutes.
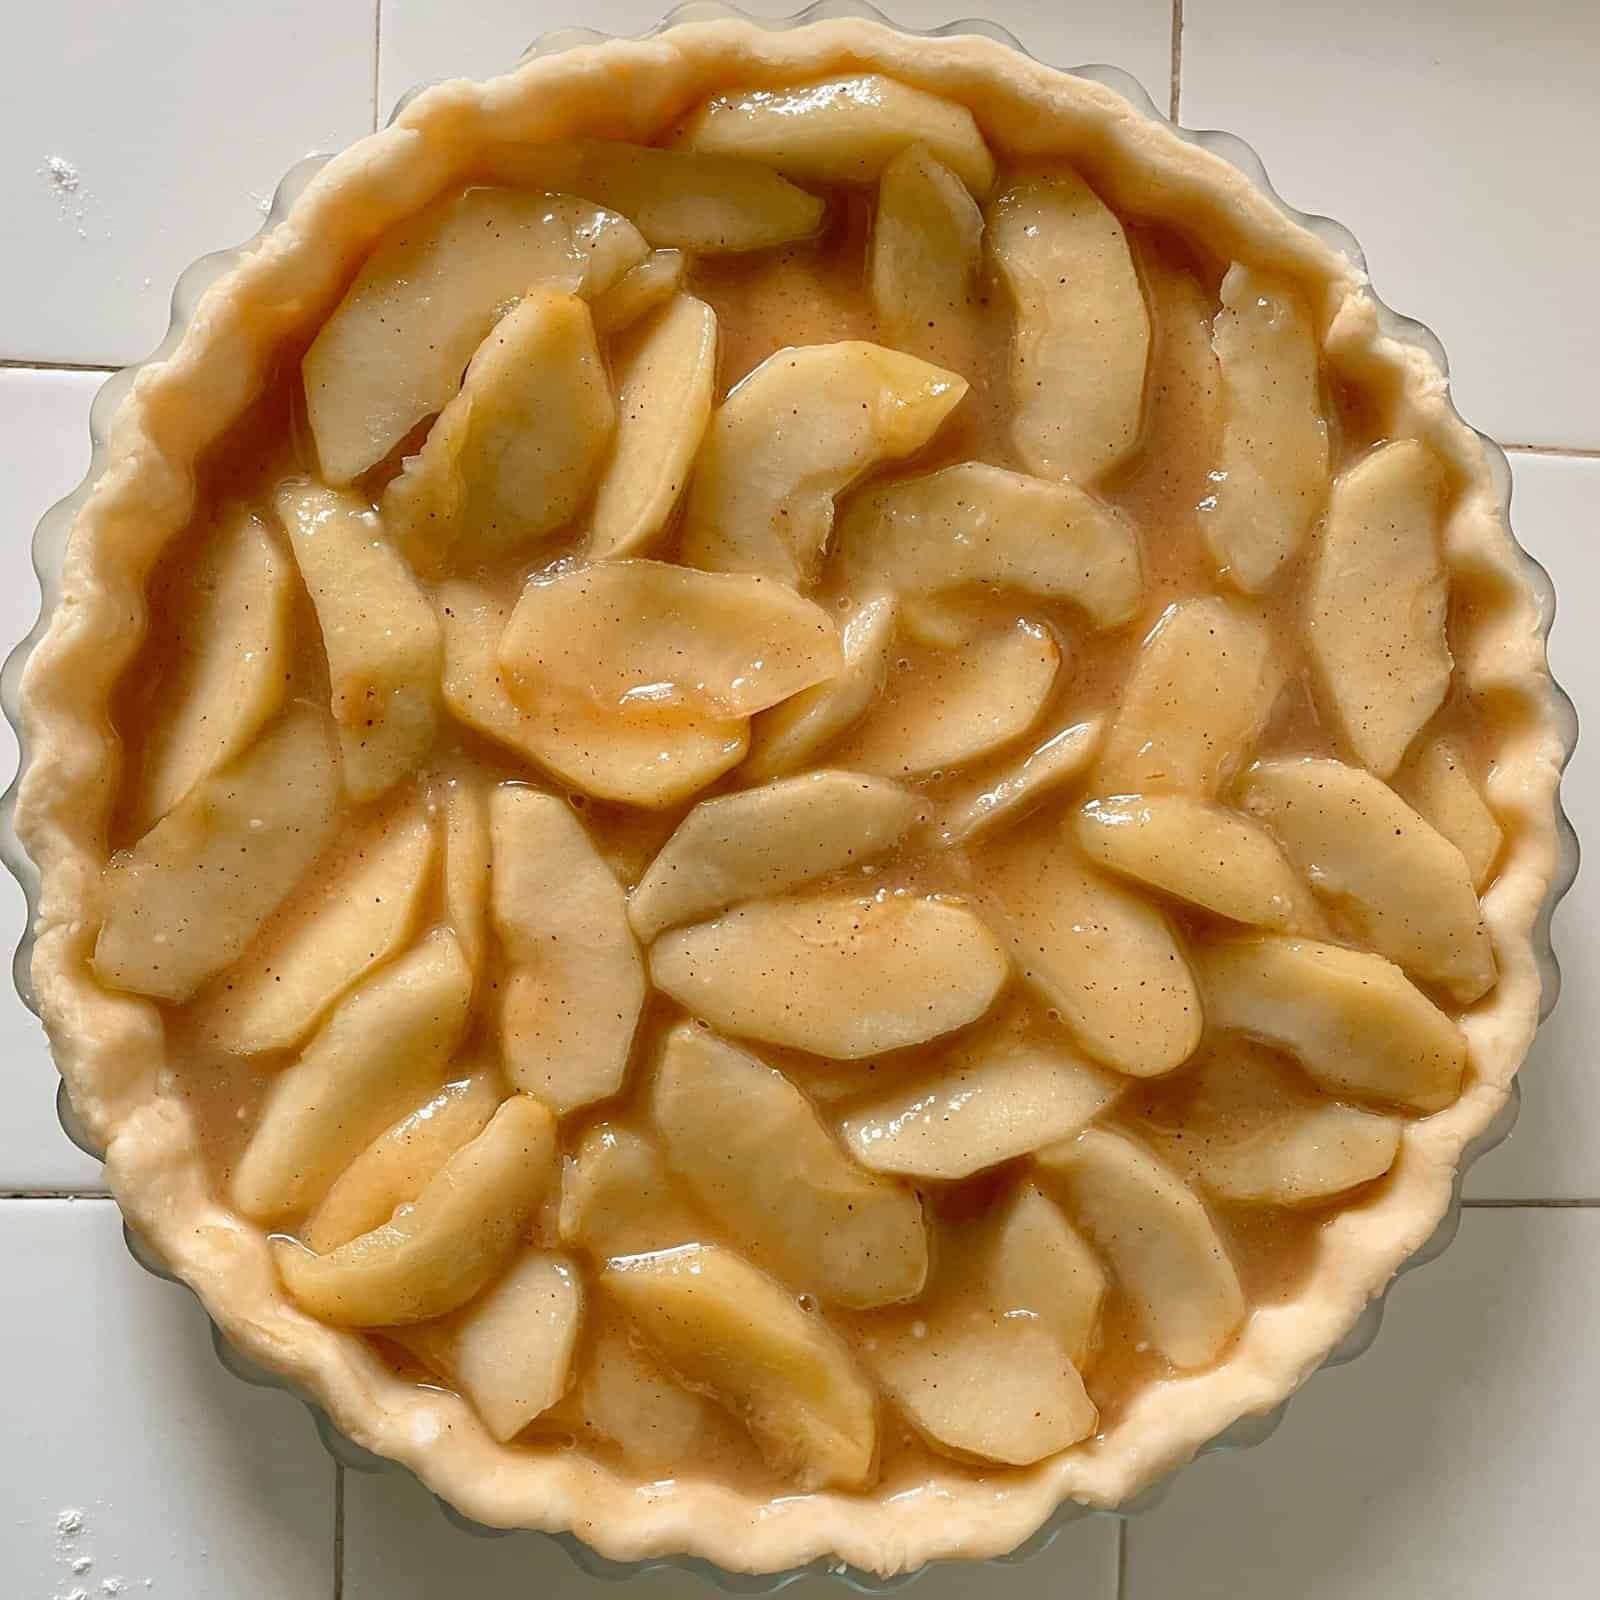
Prepare the filling
- Cut the apples into about 1/3-inch strips.
- In a mixing bowl, combine the apples with sugar, lemon juice, cinnamon, and flour. Macerate for about 10 minutes.
- Cook the mixture over low heat for 15 minutes or until the apples are softer.
- Let cool completely before filling the pie crust.
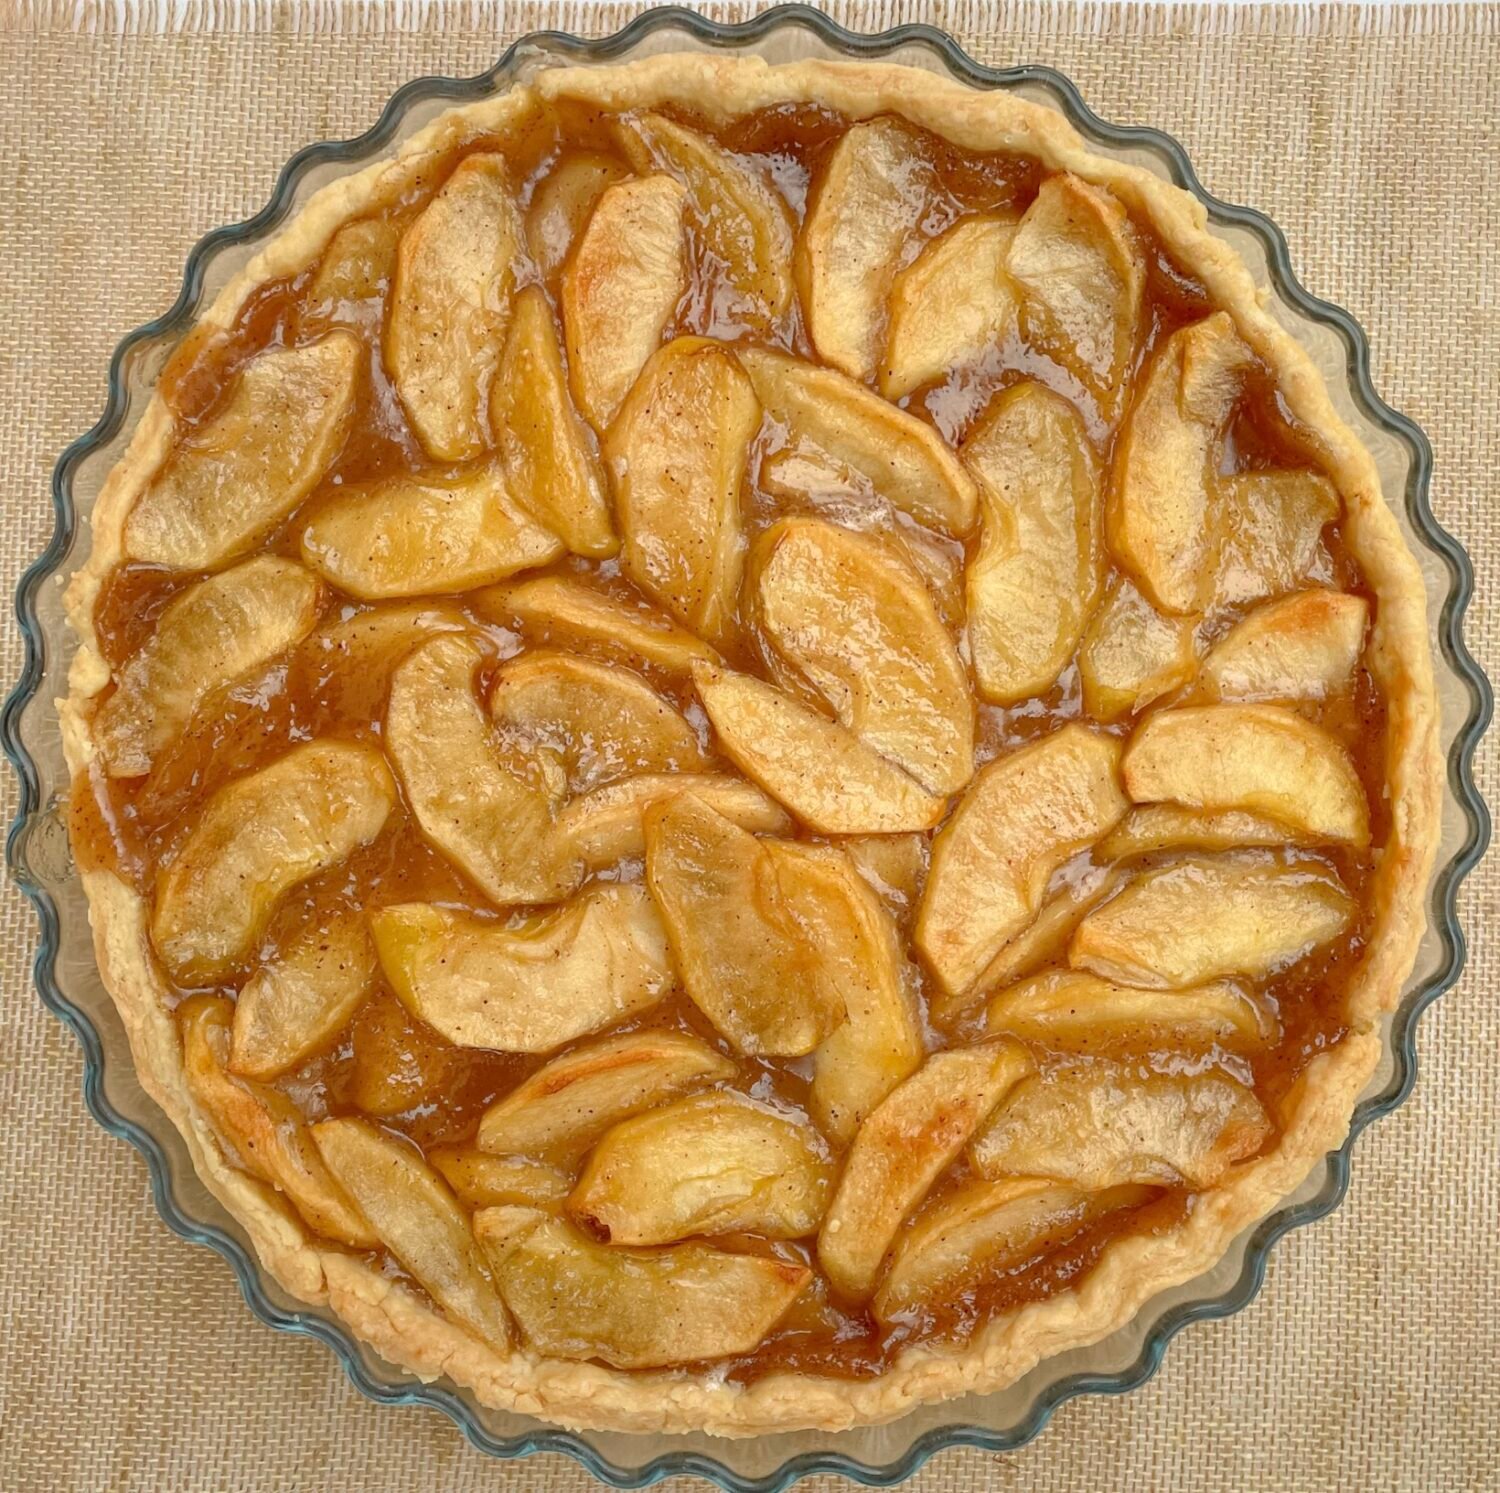
Baking and serving
- Add filling to the prepared crust, and brush egg wash mixture onto the crust edge.
- Bake on the bottom rack for about 45 to 50 minutes or until the crust is golden brown.
- Let it cool for about 2 hours before serving. Serve warm or at room temperature.
Notes
✦ This recipe uses a combination of cold butter and coconut oil for an extra flaky crust. However, you can use 220 g of butter only.
✦ In this recipe, I used a 10.25-inch quiche pan. However, if you use a traditional 9-inch pie pan, this recipe may yield two crusts.
Thank you for reading. If you like this post, subscribe to our newsletter and leave a comment below :)
Subscribe and never miss a single post!